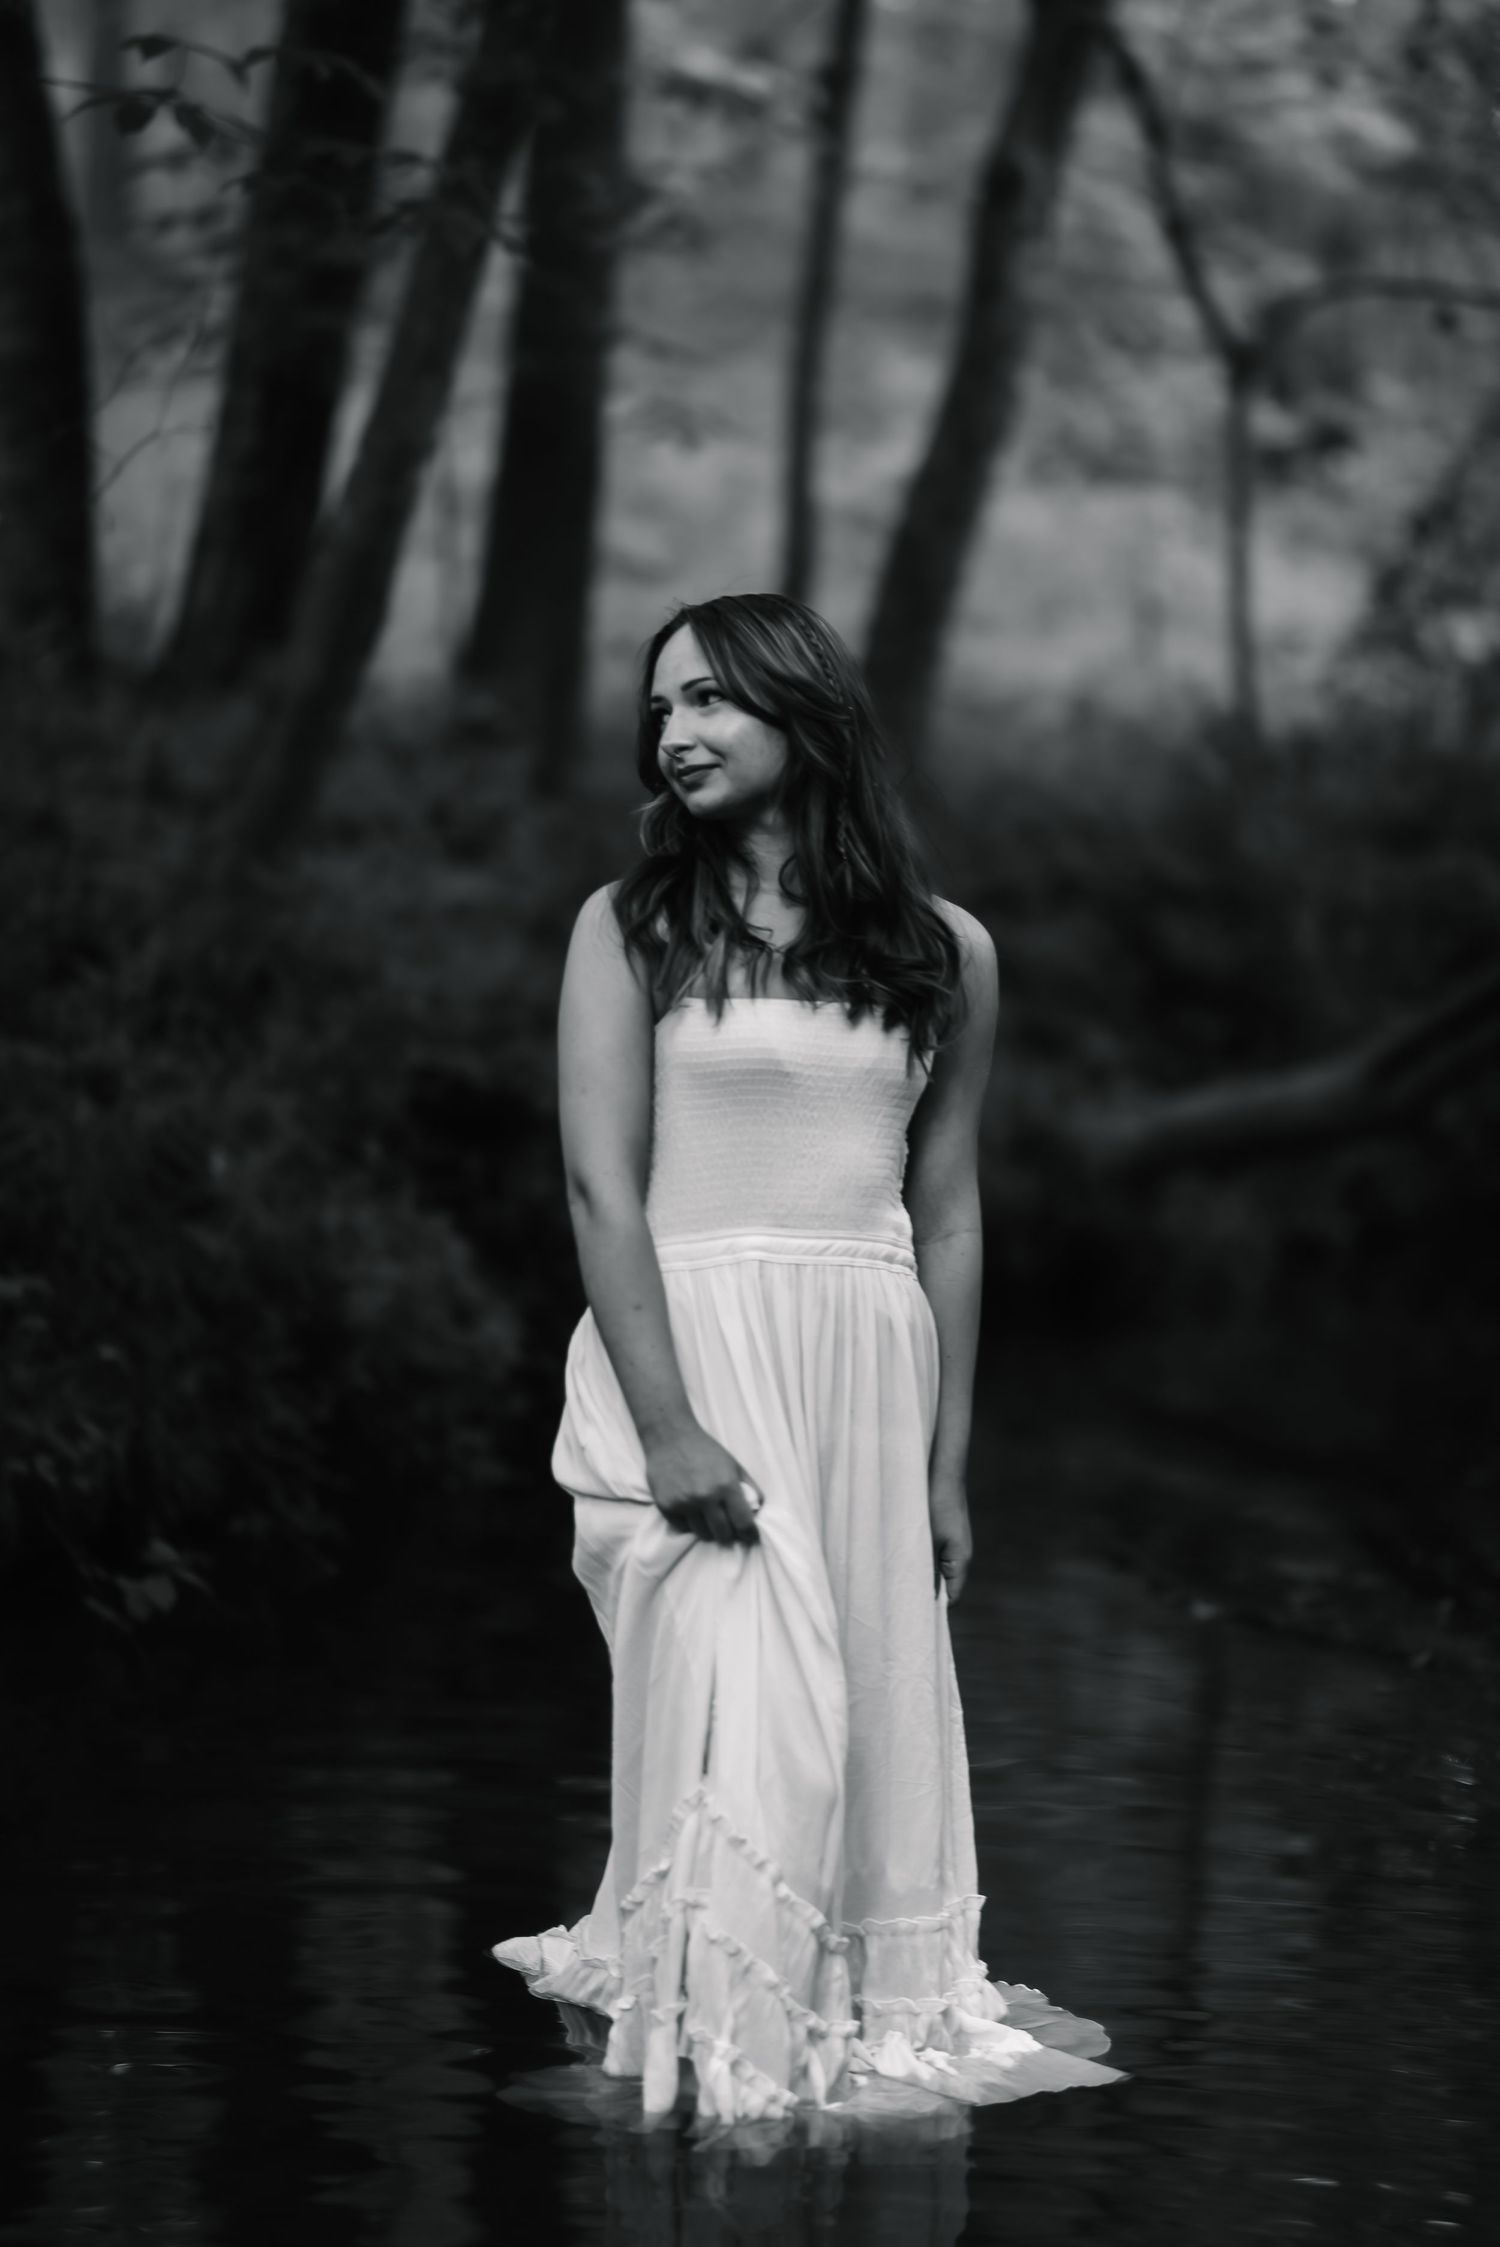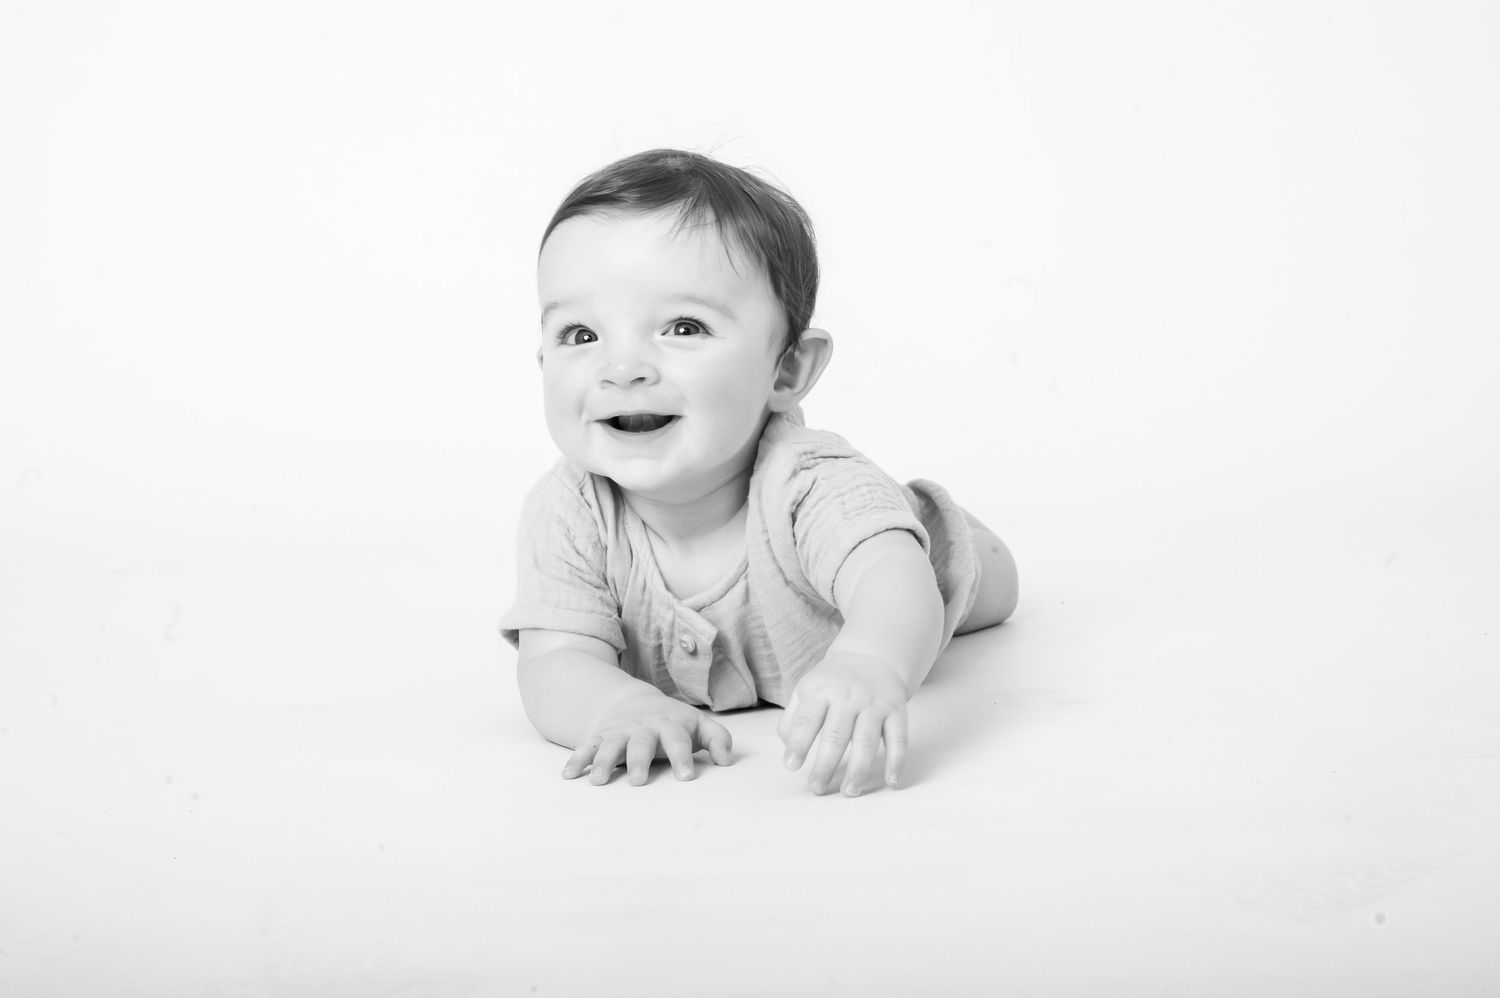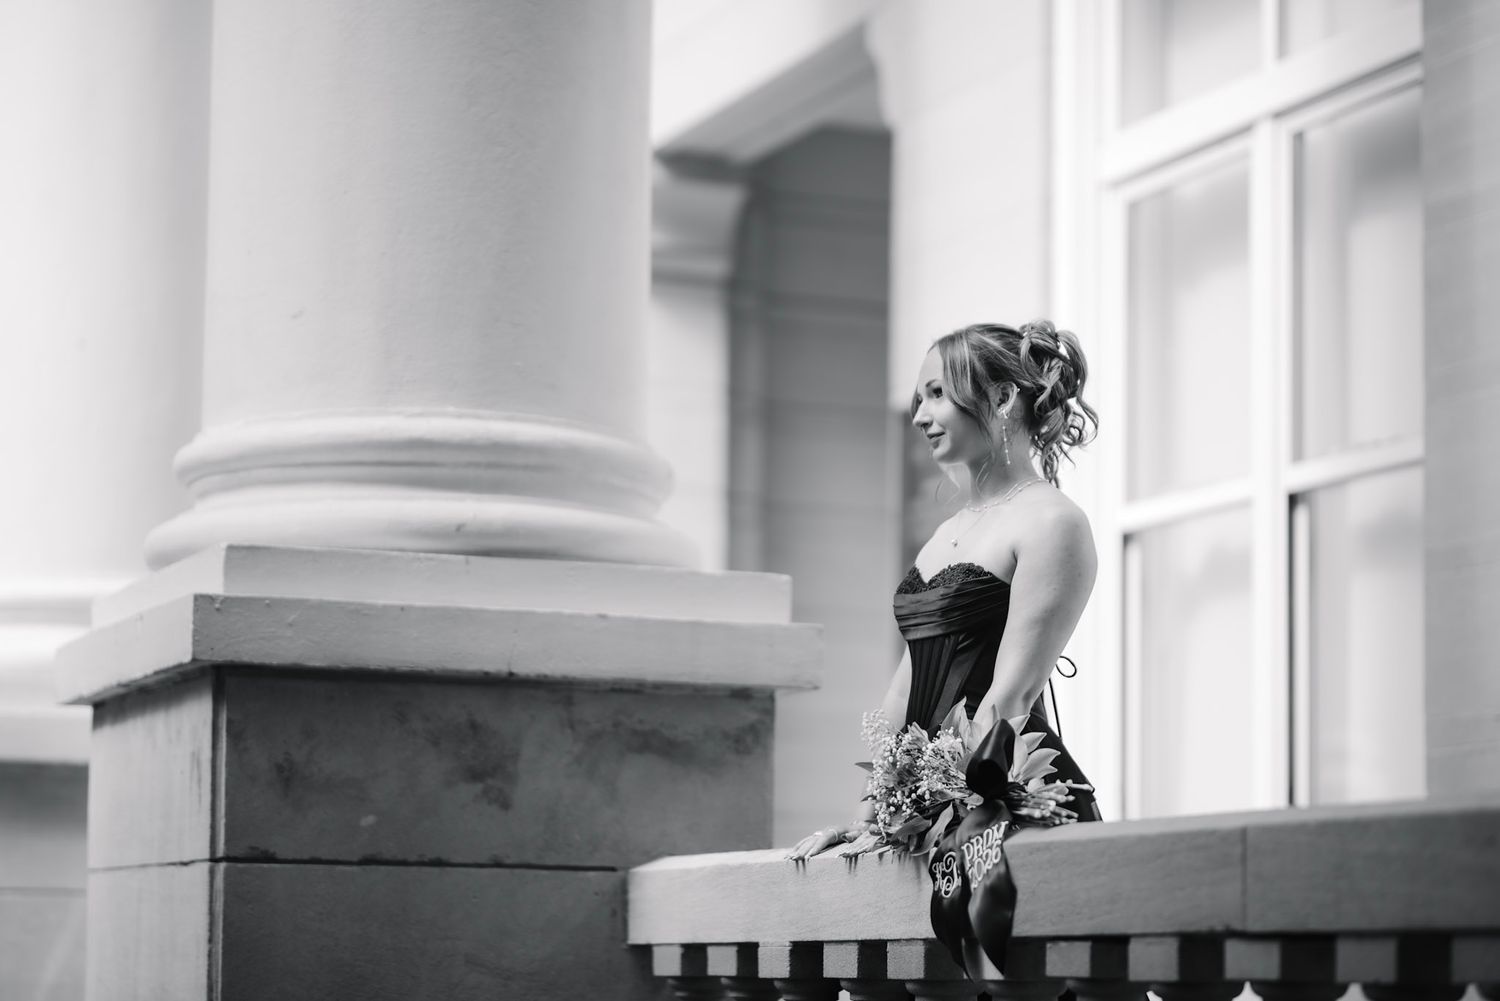
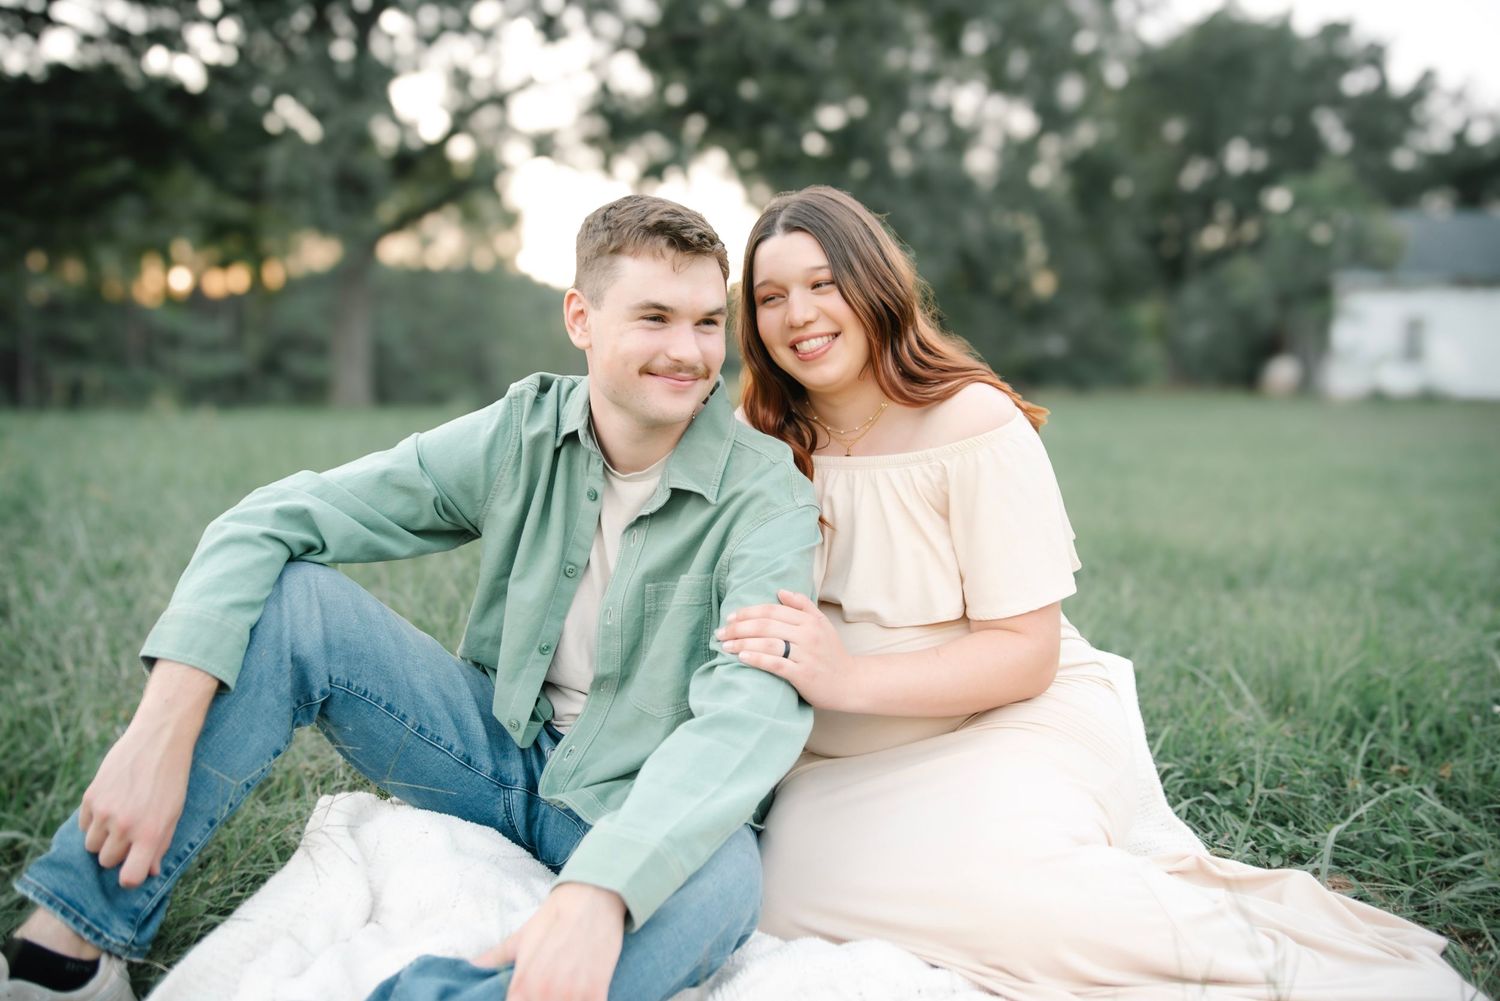
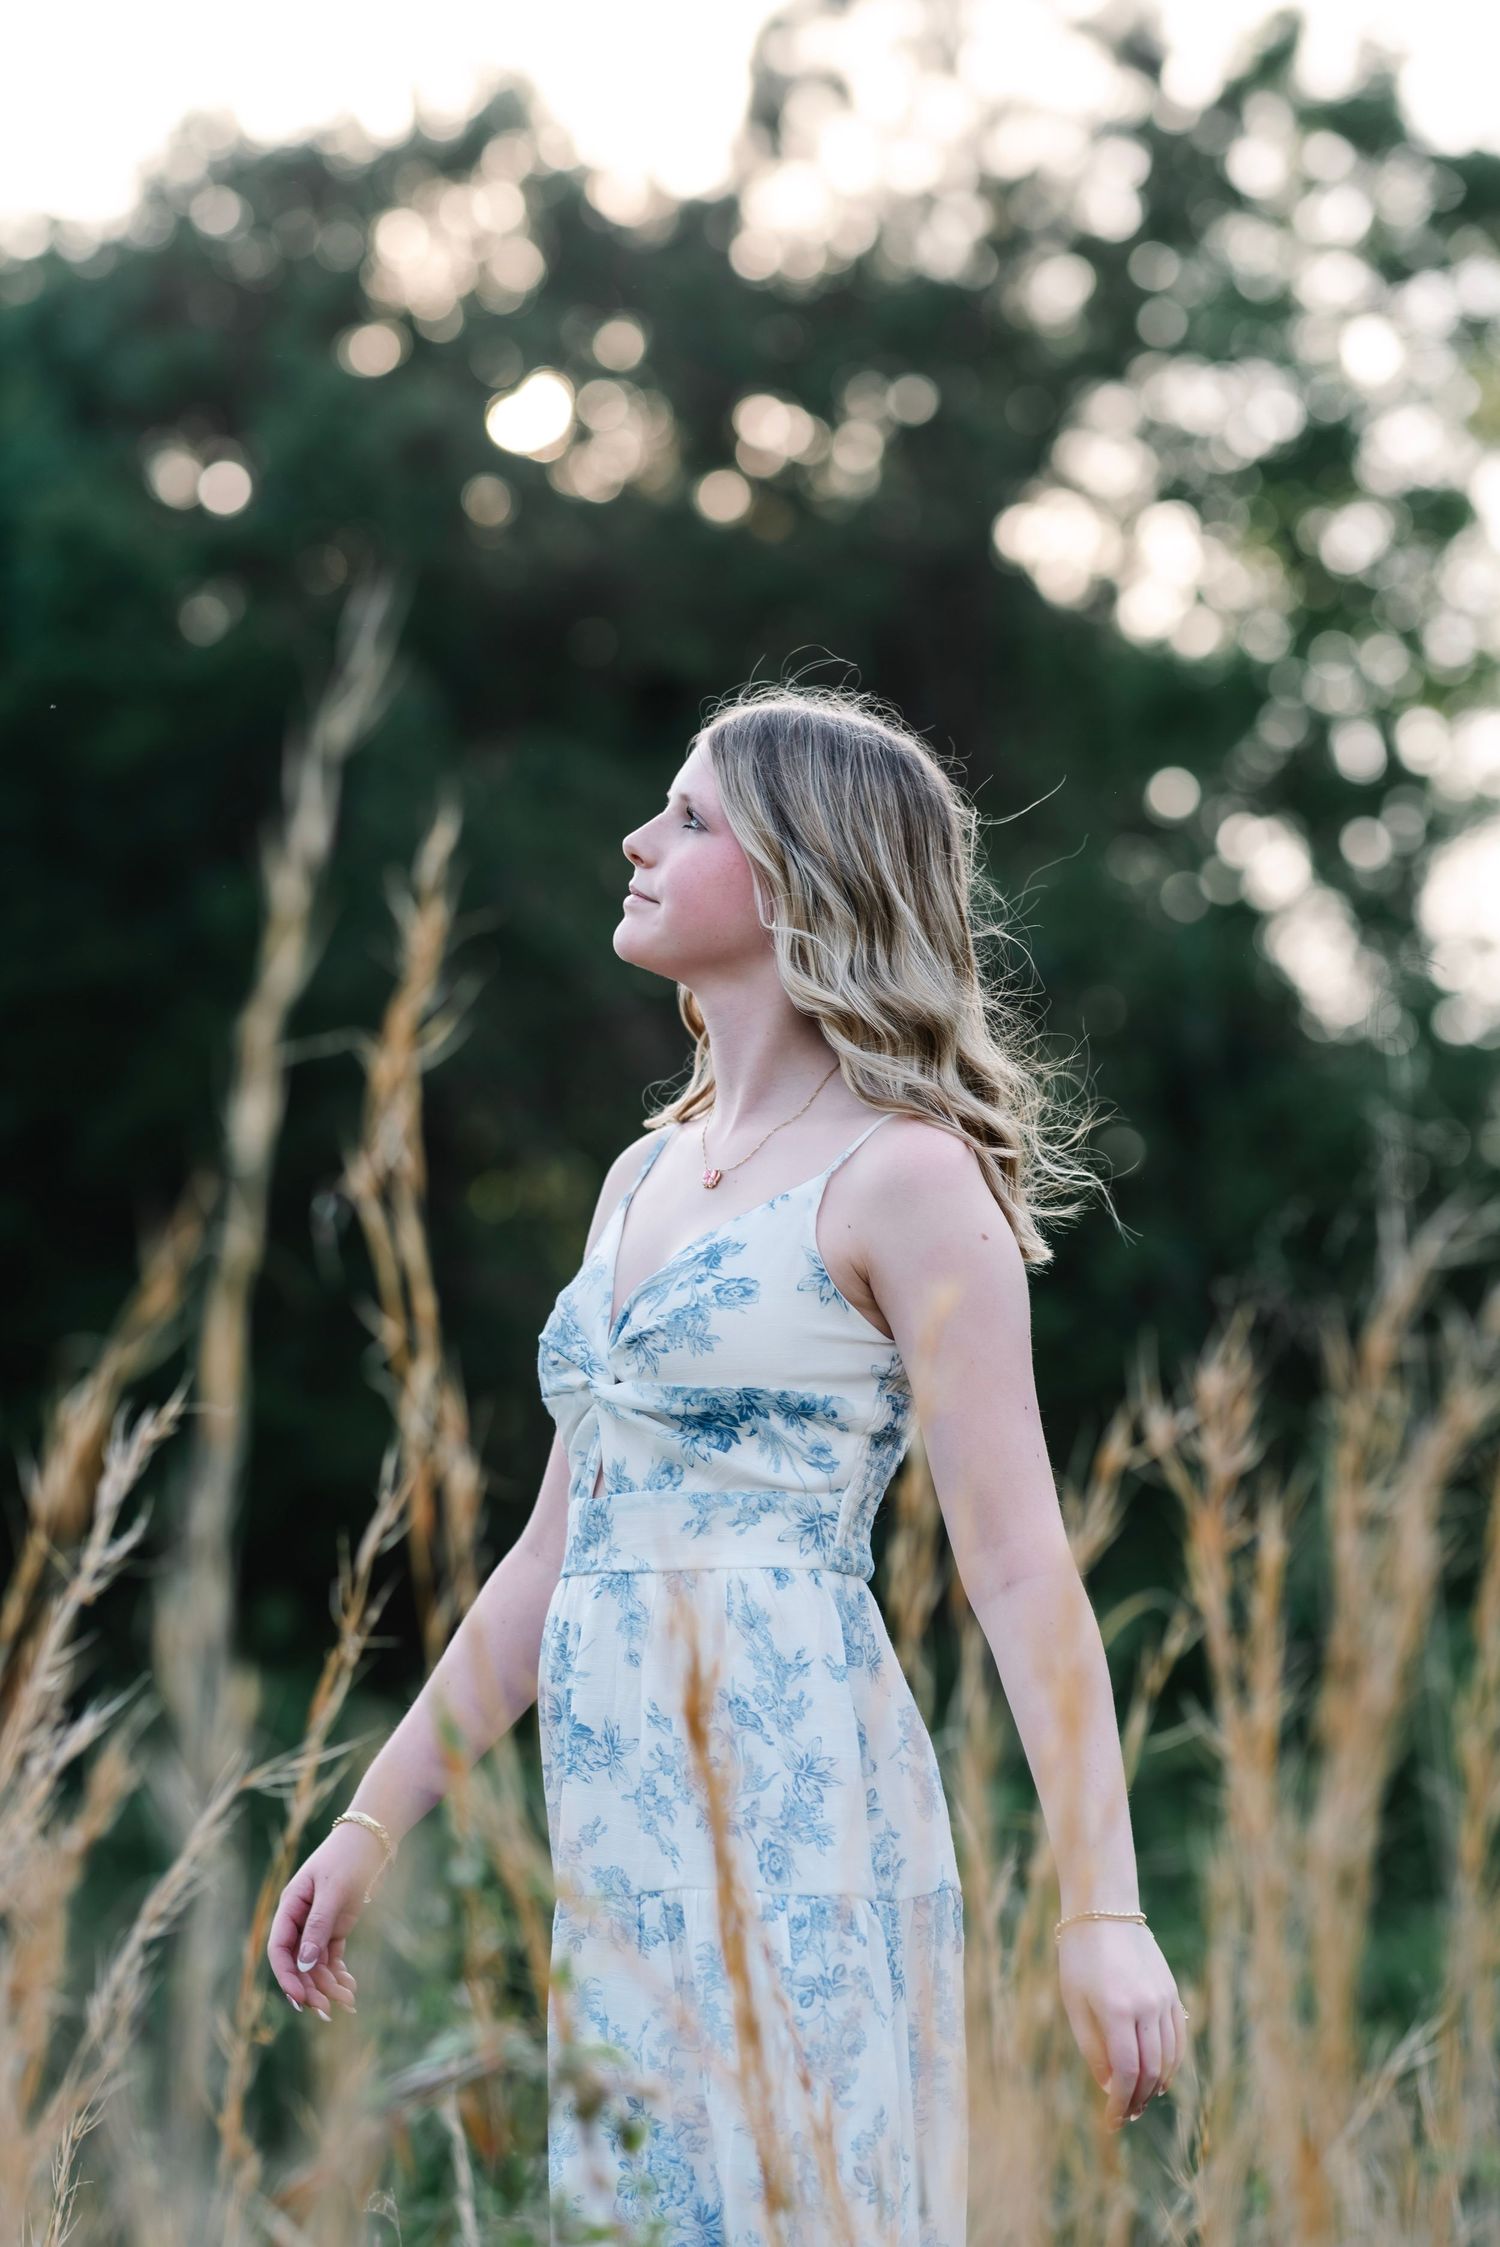
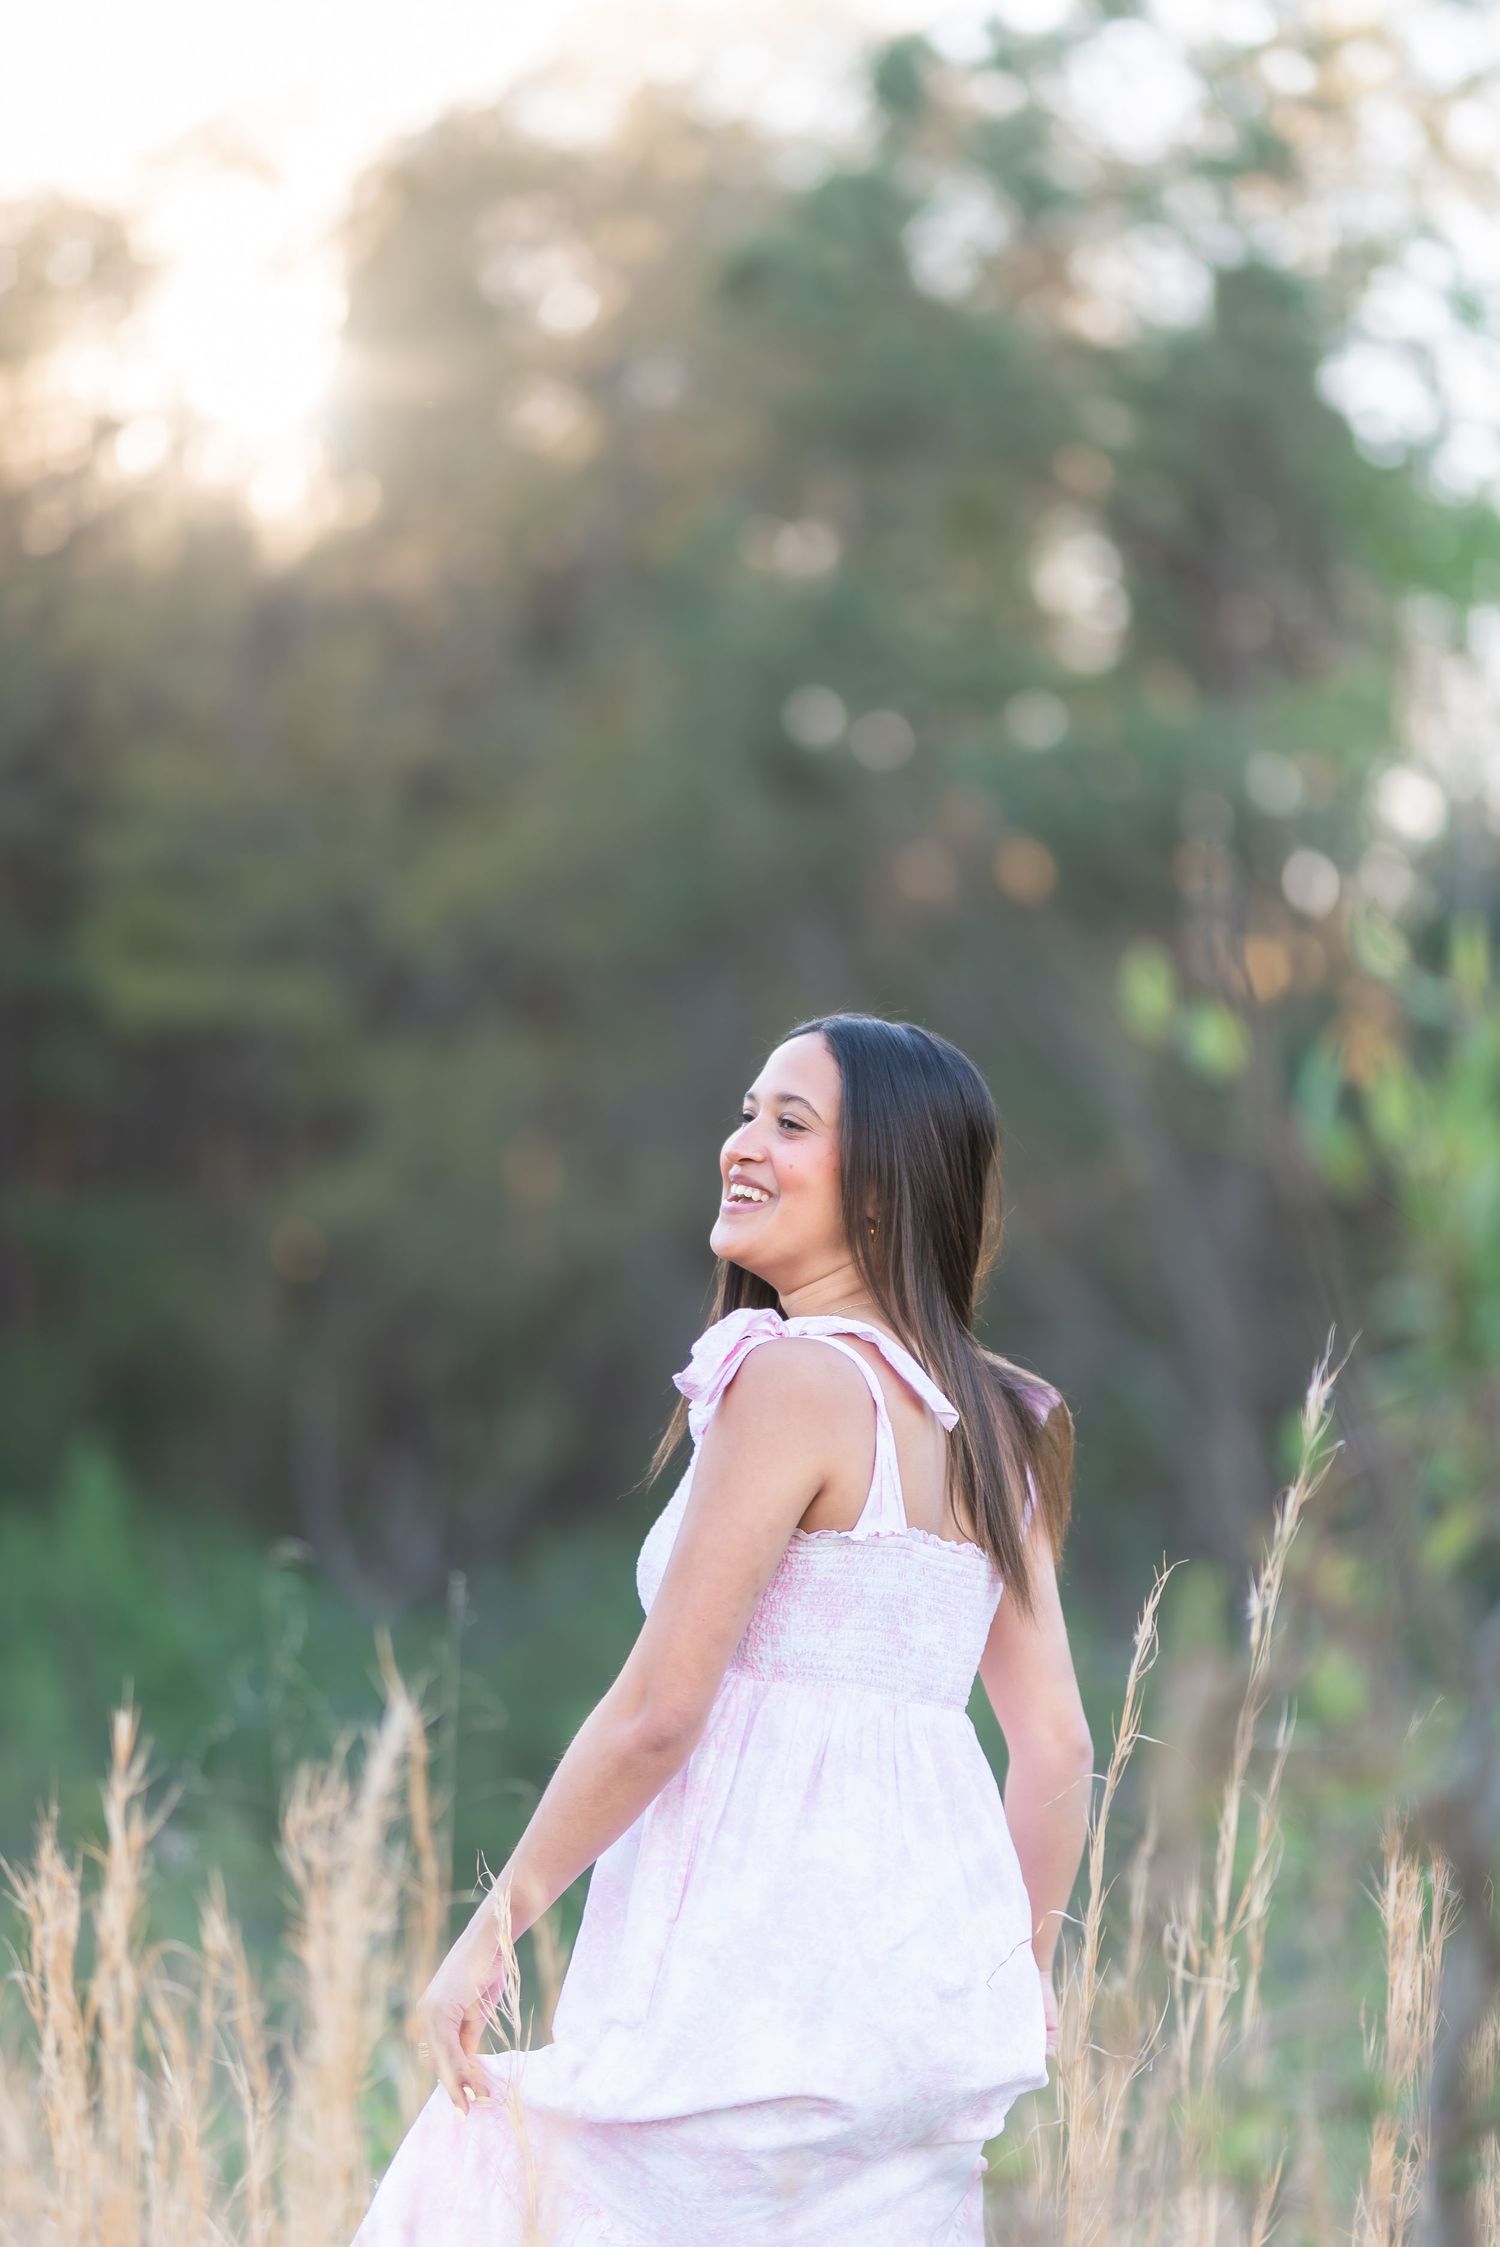
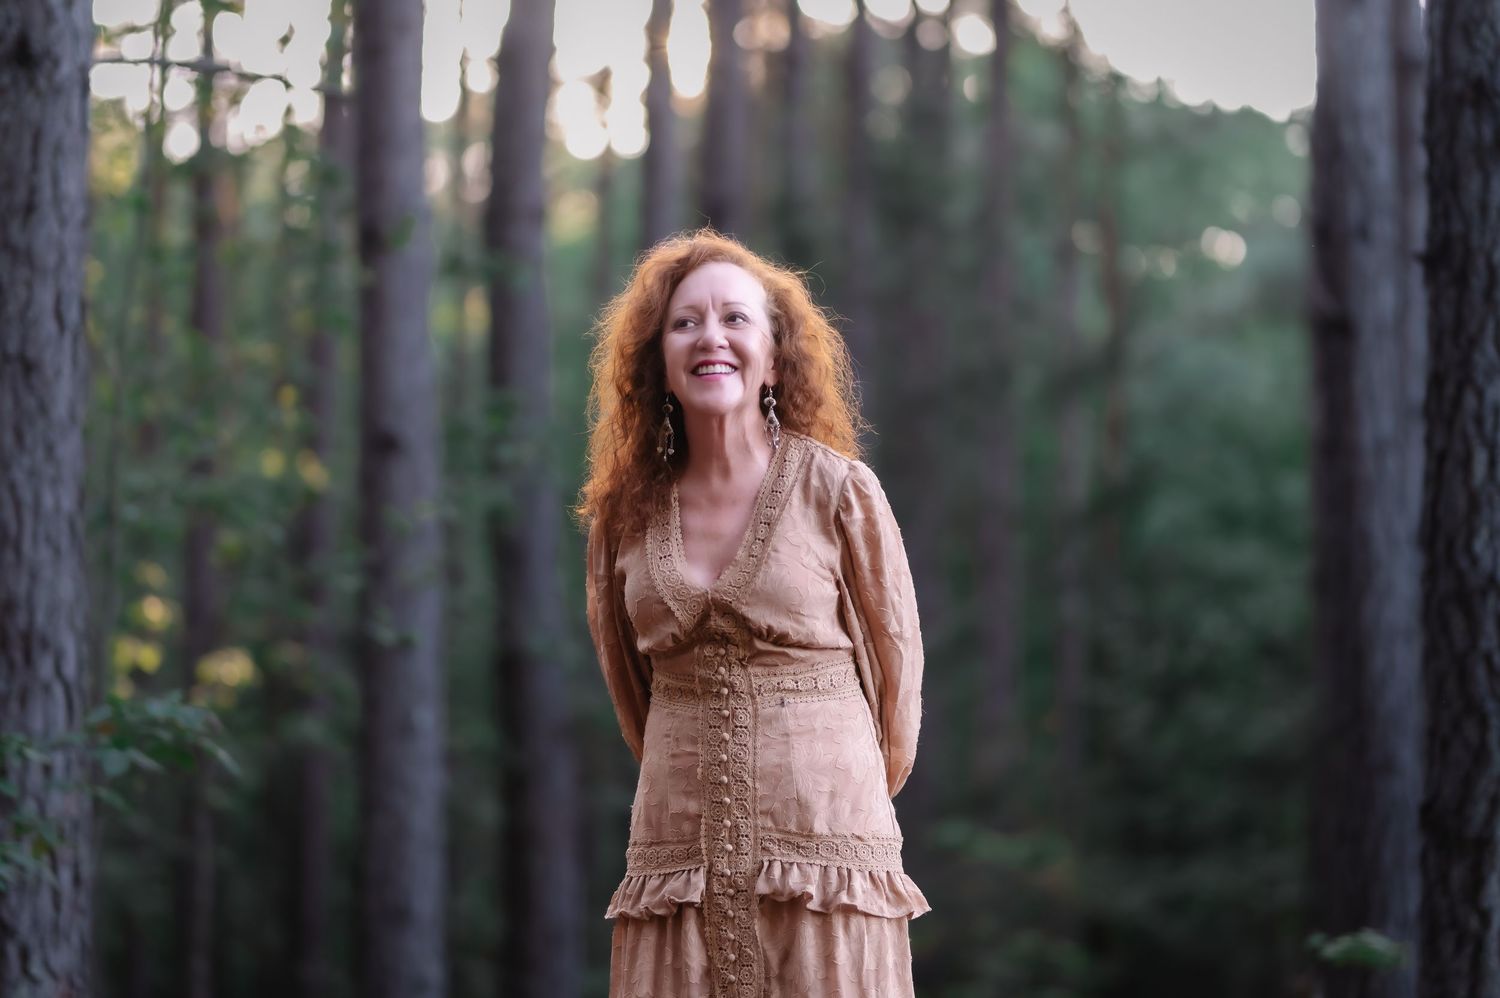
Golden hour is where cinematic storytelling truly comes alive. The warm glow, soft haze, and emotional atmosphere create portraits that feel timeless instead of overly posed.
When people ask how I create dreamy, glowing portraits like these, the answer is always a combination of:
light
movement
emotion
and intentional camera settings
Today I’m breaking down exactly how I capture my golden hour portraits — from the settings I use to the way I position my subjects in the light.
The Magic of Golden Hour
Golden hour happens shortly before sunset when the sun sits lower in the sky and creates:
softer light
warmer tones
glowing highlights
dreamy skin tones
natural depth
This is my favorite time to shoot because it instantly adds emotion and atmosphere to an image.
Instead of harsh sunlight and heavy shadows, golden hour wraps everything in warmth and softness.
My Camera Settings for Golden Hour Portraits
These settings help me create:
- creamy background blur
- warm glow
- sharp focus
- cinematic depth
Typical Settings I Use
Camera: Nikon Z6 (adjust if different)
Lens: 85mm
ISO: 100–200
Aperture: f/1.4 – f/2.2
Shutter Speed: 1/800 – 1/2000
White Balance: Cloudy
Focus Mode: Eye AF Continuous
Why I Shoot Wide Open
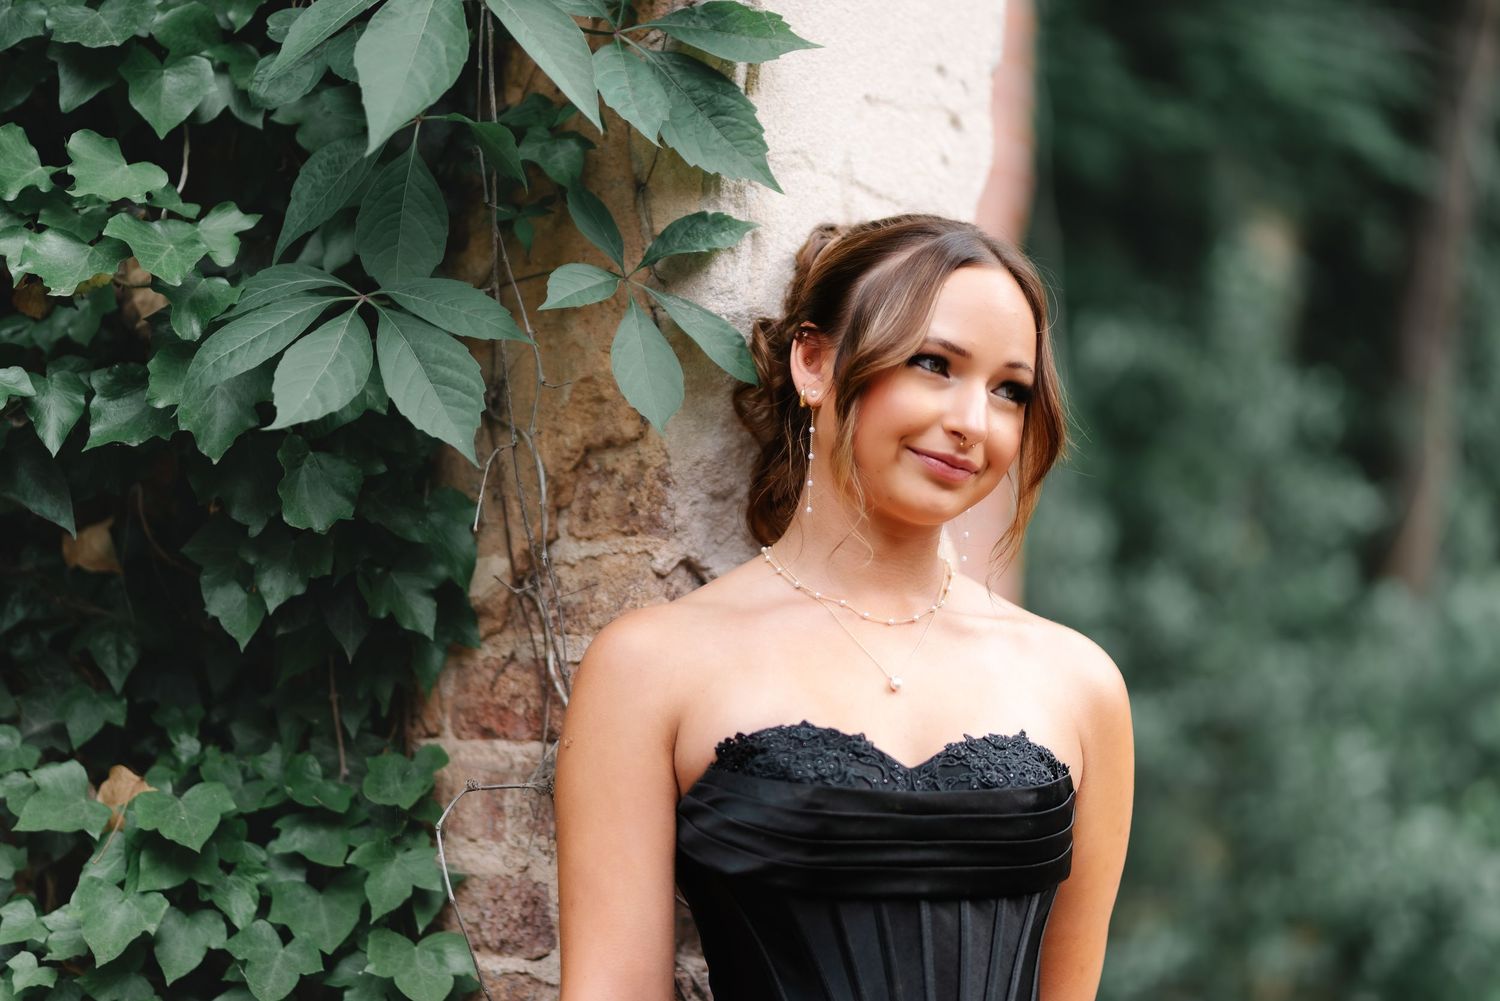
One of the biggest parts of my style is shooting with a wide aperture.
I typically stay around:
f/1.8
This creates:
- soft background blur
- separation from the background
- dreamy cinematic depth
The background melts away while the subject stays beautifully sharp.
For emotional portraits, this look helps the image feel immersive and intimate.
How I Position My Subjects in the Light
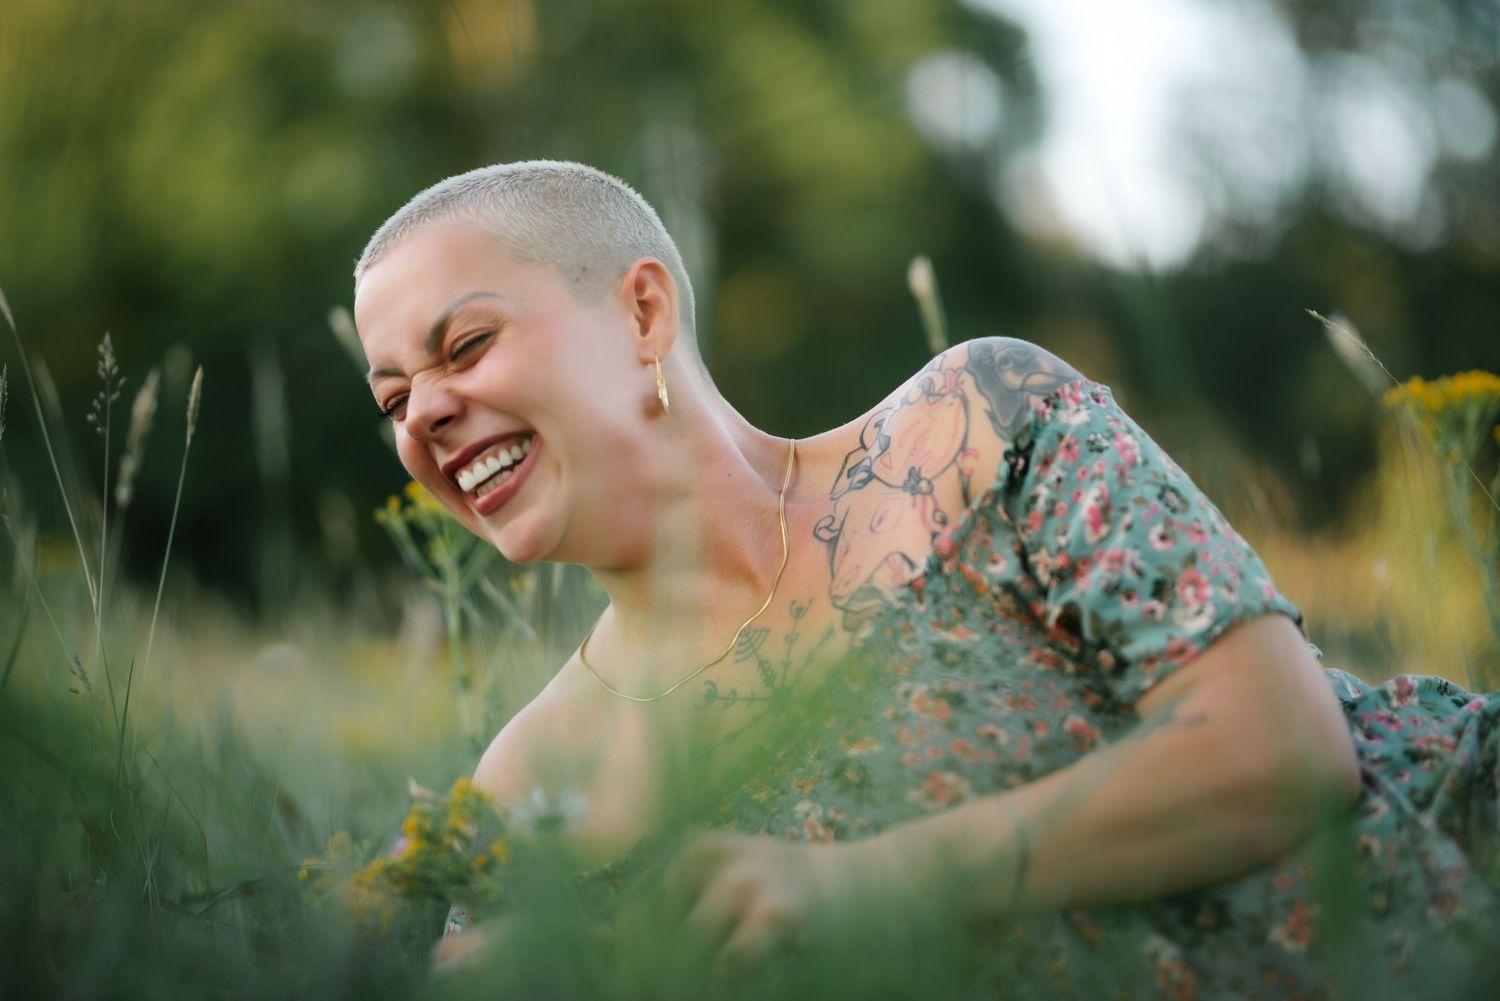
One of the biggest mistakes photographers make during golden hour is placing the sun directly on their subjects’ faces.
Instead, I usually:
- place the sun behind my subjects
- expose for skin tones
- allow the highlights to glow softly
This creates:
- dreamy rim light
- cinematic haze
- glowing hair
- warmth without harsh shadows
Backlighting is what gives many of my portraits their signature cinematic feel.
How I Create Natural Movement
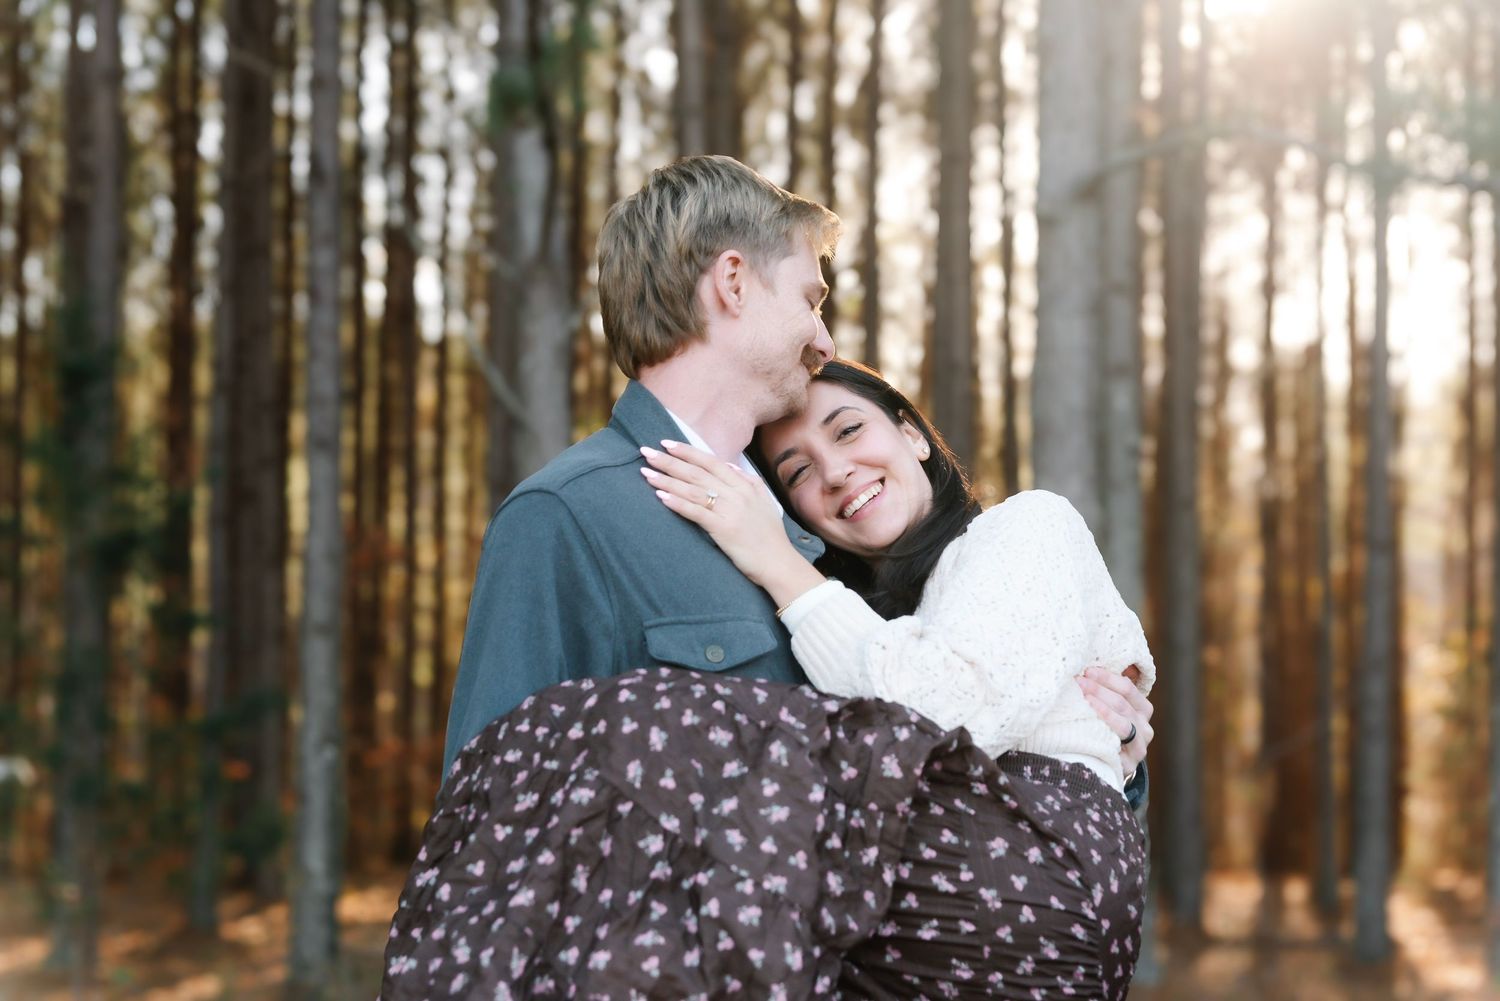
The dreamy feeling in portraits often comes from movement rather than stiff posing.
Instead of asking clients to stand perfectly still, I encourage:
- walking
- spinning
- leaning into each other
- fixing hair
- laughing together
- slow movement
This creates emotion that feels authentic instead of forced. Some of my favorite images happen in-between poses.
My Favorite Lens for Golden Hour
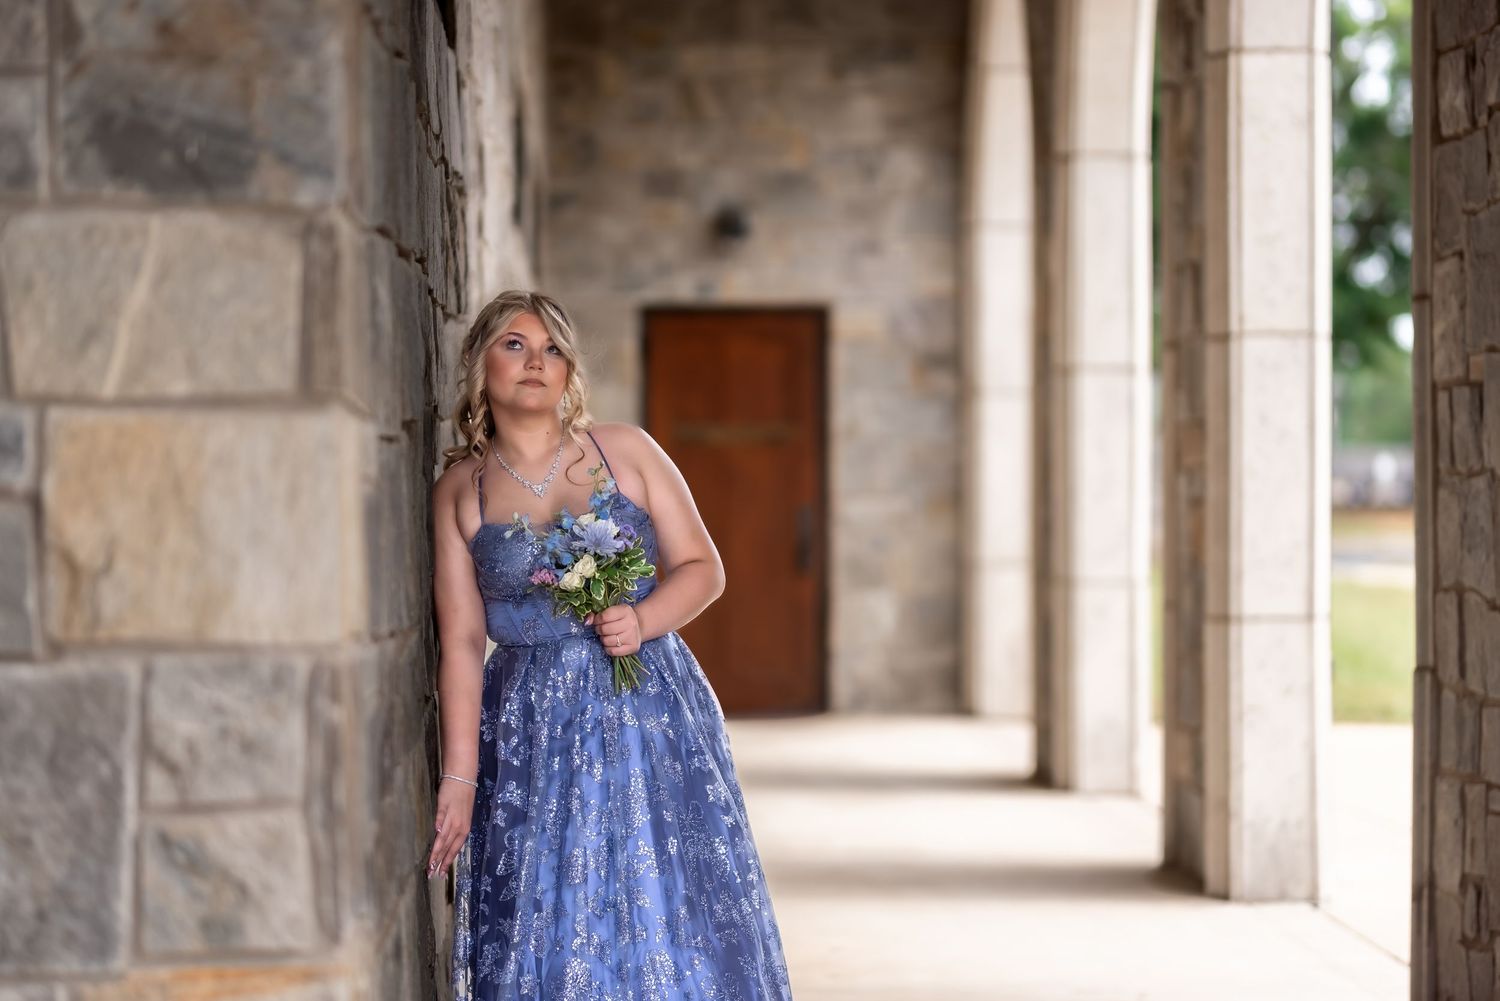
My 85mm lens is one of my favorite tools for cinematic portraits because it compresses the background beautifully and creates soft dreamy blur.
When I want:
- intimacy
- emotion
- creamy depth
- flattering portraits
…the 85mm is almost always my first choice.
Editing for Warm Cinematic Tones
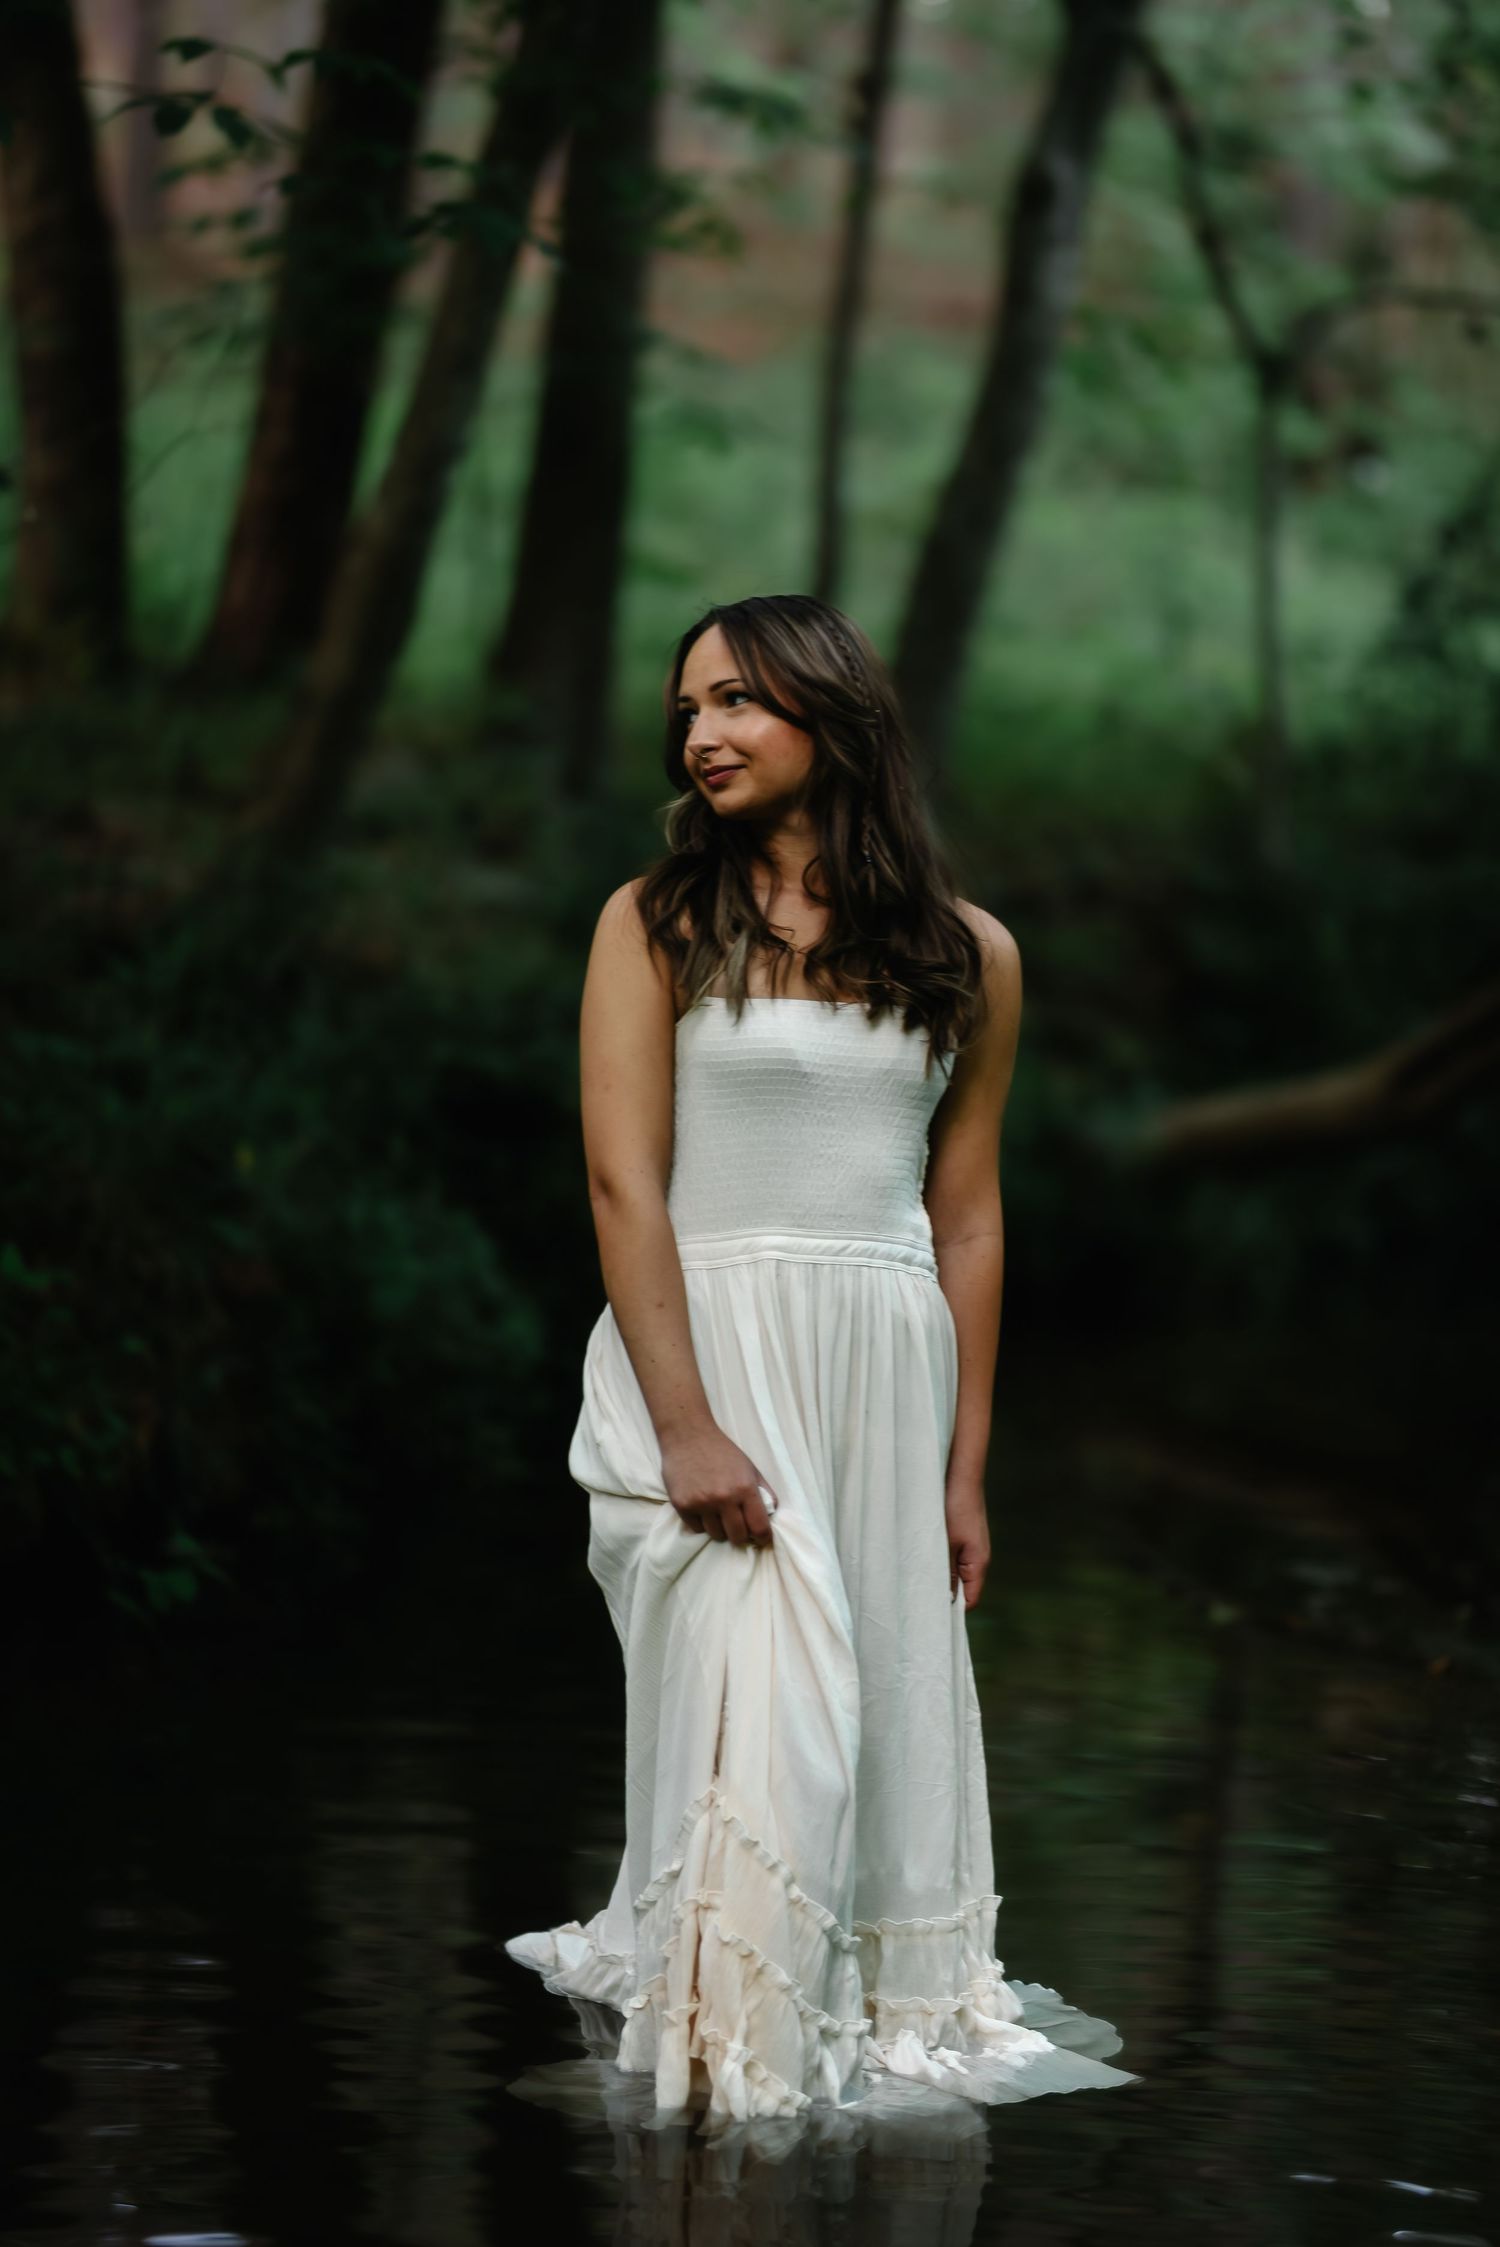
Editing is important, but the glow starts in-camera.
I focus on:
- preserving warmth
- softening highlights
- keeping skin tones natural
- maintaining emotional depth
I avoid overly orange edits or heavy filters because I want the images to still feel timeless.
The goal is cinematic and emotional — not trendy.
Tips for Clients Preparing for Golden Hour Photos
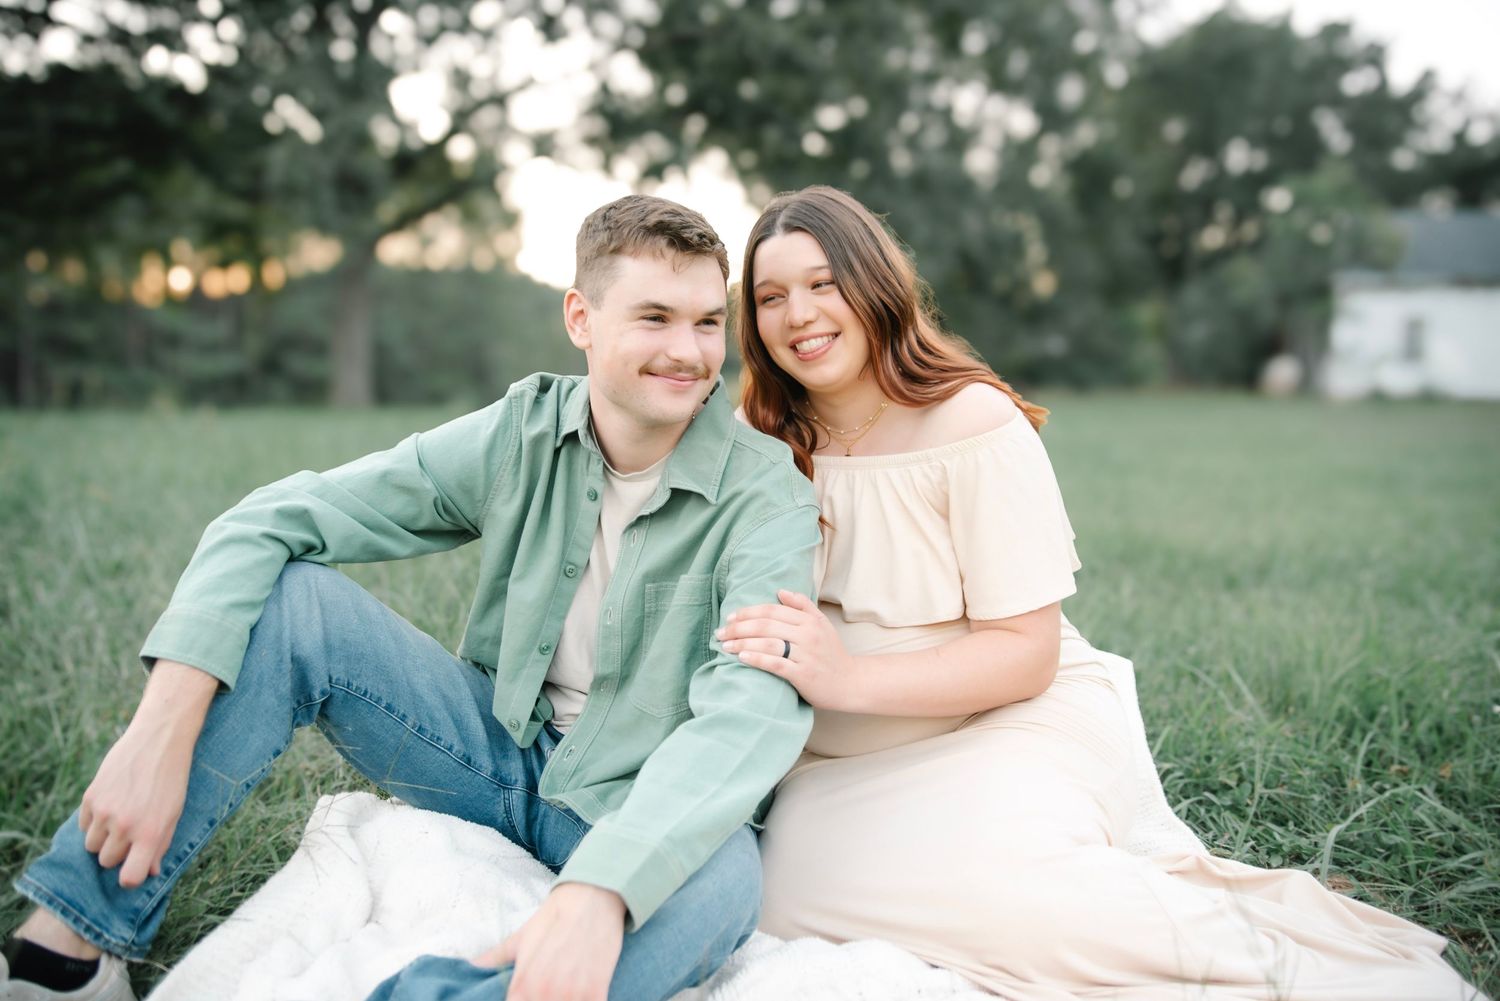
Golden hour portraits photograph beautifully when outfits and movement complement the light.
I always recommend:
- neutral tones
- earthy colors
- flowing fabrics
- layered textures
- avoiding neon colors
The softer and more natural the styling feels, the more cinematic the final gallery becomes.
Final Thoughts
Golden hour portraits are about more than beautiful light.
They’re about creating images that feel emotional, cinematic, and timeless.
The settings matter.
The light matters.
But the real magic comes from connection and storytelling.
That’s always the part I’m chasing most.
If you’re looking for dreamy cinematic portraits filled with warmth and emotion, I’d love to create something beautiful with you.
Looking to Book a Golden Hour Session?
Whether you’re planning:
senior portraits
couples photos
prom portraits
branding photos
or simply want portraits that feel like a movie scene
Golden hour is one of the most beautiful ways to tell your story.
This is a paragraph. Click edit and enter your own text. You can make changes like making the text bold, underline or italic. This is a great place for you to tell your clients more about your story and to describe the type of photographer you are. You can come back at any time to make more changes.